Quick answer
The best FOB is close enough to matter, hidden enough to survive, and supplied enough to keep helping the team. A good base shortens the next useful rotation, protects the team from the obvious approach, and stays supplied long enough to influence the Control Zone.
Build a useful FOB: the short version
- Choose one job: a push, route support, a defended support position, or a fallback.
- Buy and move the kit and supplies: do not arrive with an empty base and no way to feed it.
- Place the core where the next rotation improves: a base near the last fight can still be too far from the next useful Control Zone.
- Protect the core before expanding: cover, approach control, and a fallback matter before a large perimeter.
- Build only what the job needs: match the supplies and hammer/tool to the structure or support piece.
- Reassess when the front moves: relocate or stop feeding a base that no longer changes the fight.
This is a beta-tested workflow, not a promise that every cost, tool, placement rule, or build list will remain unchanged in Early Access.
What is a FOB?
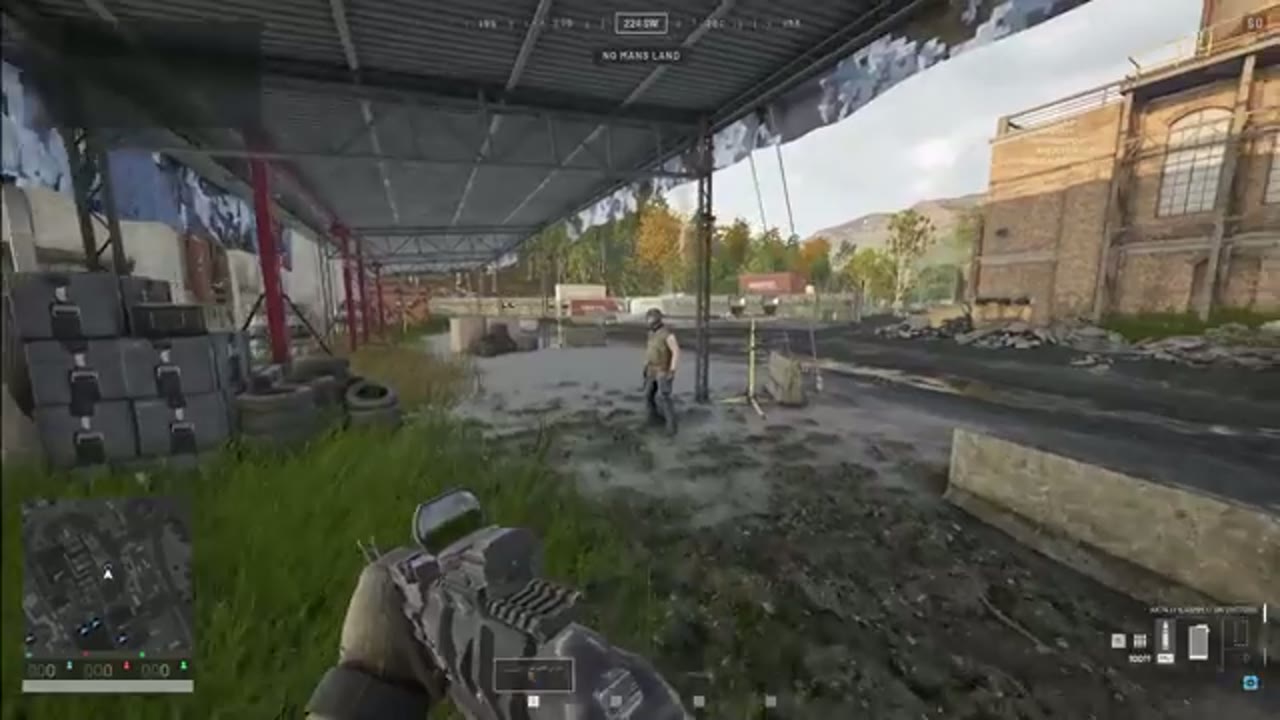
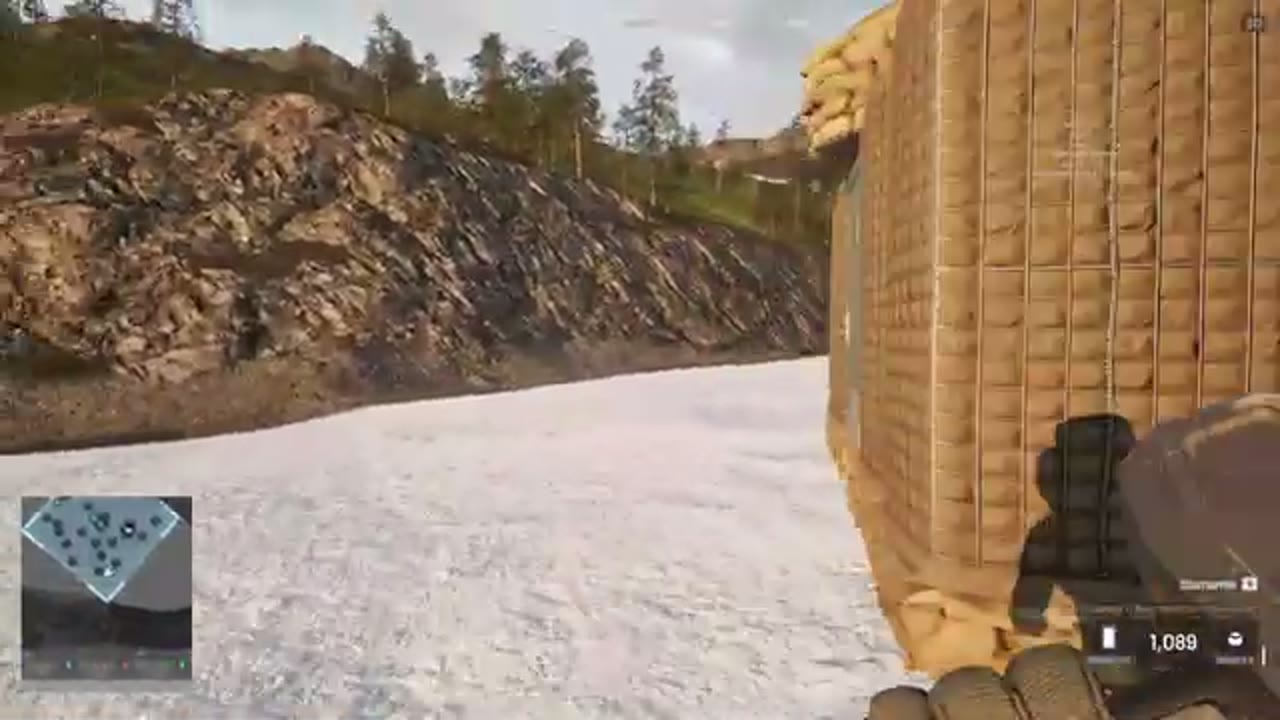
A FOB is the forward base that makes building useful in the field. August 2026 beta guides showed FOB placement creating a local build area, a small starting supply pool, and a place where builders could turn carried or delivered supplies into walls, gates, emplacements, and protected support positions.
| FOB job | What it does |
|---|---|
| Build anchor | Defines the area where nearby construction can happen. |
| Supply bank | Holds the supplies that feed walls, repairs, mortars, and other support pieces. |
| Route support | Shortens the walk from a useful approach to the Control Zone or a defensive line. |
| Team objective | Becomes a target the enemy can raid, disable, or destroy. |
FOB cost, placement limits, health, destruction rules, and available build pieces may change as WARDOGS moves through Early Access.
FOB checklist
| Check | Why it matters |
|---|---|
| Distance to objective | Too far wastes time; too close gets destroyed. |
| Supply access | Building and repairs need resources. |
| Cover and approach | Walls work best when they shape approach routes and protect defenders. |
| Anti-air and mortars | Strong tools need protection and coordination. |
| Escape paths | A trapped FOB becomes a cash sink. |
Supply types to plan around
Think about supplies by job. A compact FOB needs the right supply type more than a large pile of mismatched resources.
| Supply | Observed use |
|---|---|
| Building supplies | Walls, gates, HESCO-style barriers, concrete pieces, and FOB fortification. |
| Ammo supplies | Mortar support and ammunition-heavy positions. |
| Fuel supplies | Vehicles and logistics routes that need to keep moving. |
| Mechanical supplies | Repairs and vehicle support around the front. |
Supplies can be moved by players, land vehicles, or air transport. Beta guides showed vehicle pallets delivering larger supply packages near a FOB and unloading them into the base supply pool.
Hammers and build access
Builder tools shape what a FOB can become. Larger hammers are expected to support faster construction and broader build options, while exact unlock lists and speed values can change during Early Access.
| Tool question | Practical check |
|---|---|
| Do you only need cover? | A small, cheap build may be enough. |
| Are you building a defended entrance? | Plan walls, gates, and a fallback route before spending supplies. |
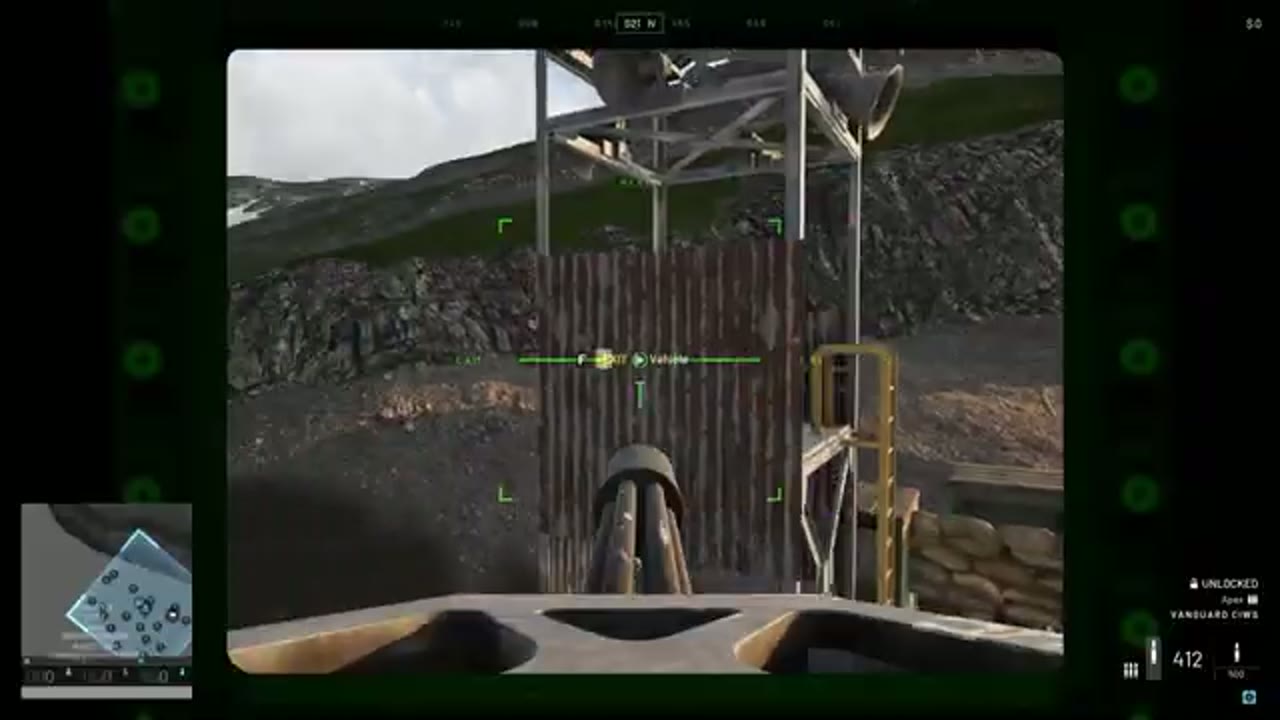
| Are you adding mortars or anti-air? | Protect the emplacement first; the weapon is valuable only if it survives. |
| Are you building for one push? | Keep it compact and supplied instead of making a large empty base. |
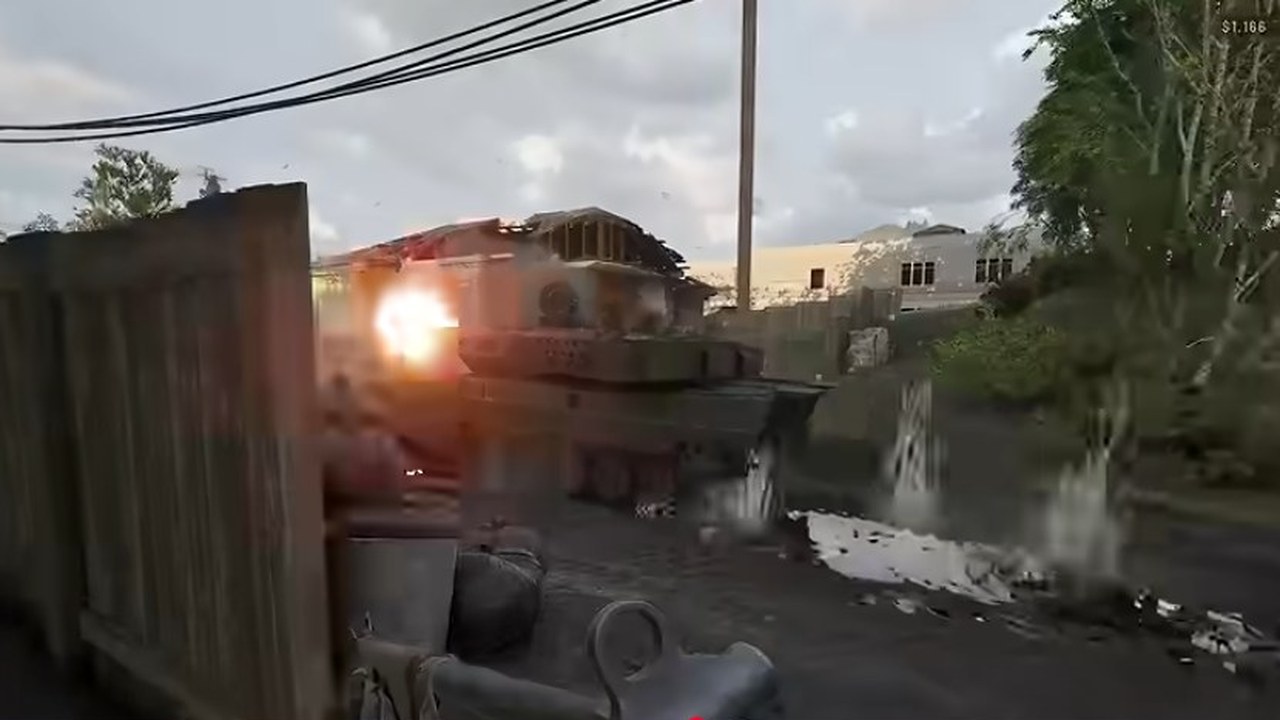
Build compact, then defend the core
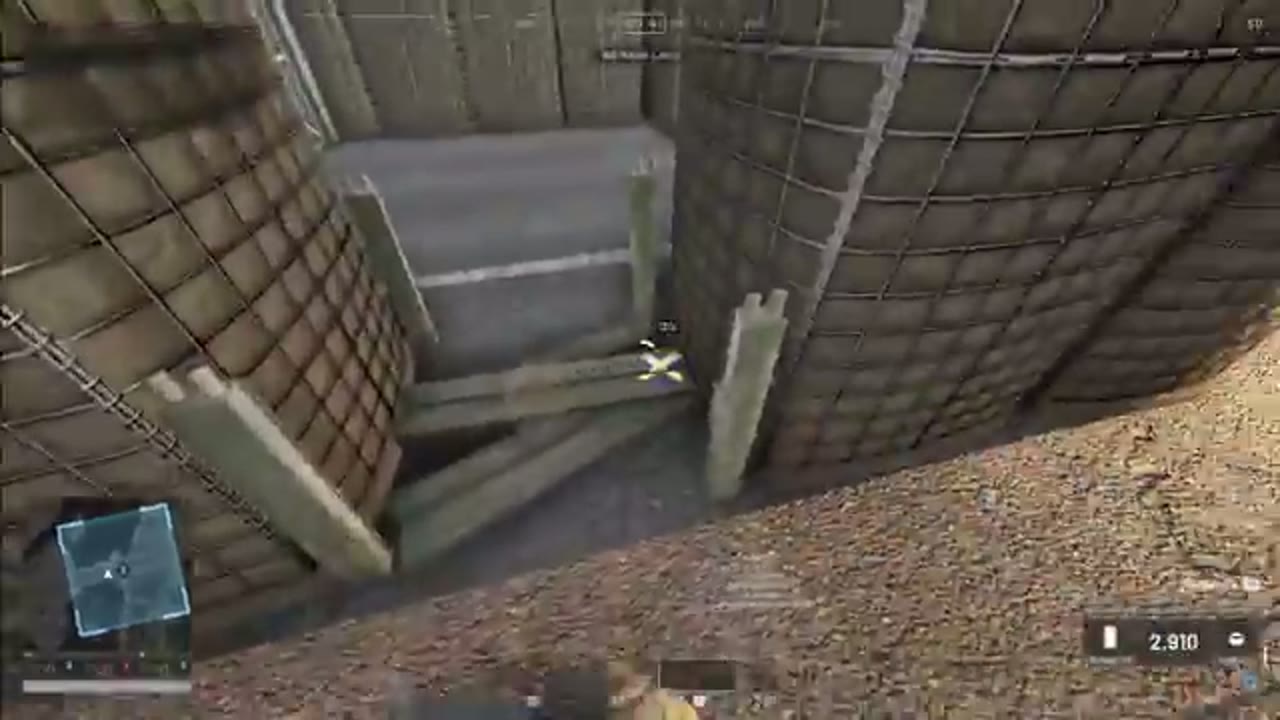
Compact, useful defenses are usually better than large bases that drain supplies while leaving the objective exposed.
Protect the FOB itself. Beta footage shows players raiding bases, reaching exposed FOB cores, and destroying or disabling support positions. A strong layout makes the enemy cross angles, pass through a controlled entrance, and expose themselves before they can reach the center.
Common FOB mistakes
| Mistake | Better move |
|---|---|
| Building too far from the active fight | Place the FOB where it changes the next useful rotation. |
| Spending supplies before planning routes | Decide where players enter, exit, reload, and fall back. |
| Leaving the FOB core visible | Put the important object behind cover and a defended approach. |
| Making a giant empty base | Build a small position that your squad can actually hold. |
| Forgetting ammo or repair support | Match the supply type to the emplacements and vehicles you expect to use. |
FOB placement cues
FOB placement is about timing more than decoration. Build where it shortens the next useful walk, protects a route, or keeps pressure near the Control Zone.
| FOB cue | Practical read |
|---|---|
| Objective pressure moves quickly | Place support where it helps the next push, not the last fight. |
| Vehicles and helicopters create routes | Build around arrival paths, resupply paths, and repair access. |
| Buildings and walls shape approach | Use cover to slow enemy entry and protect revives. |
| Three teams can collapse on noise | Keep the FOB compact enough to defend and leave. |
Quick setup flow
| Step | Decision |
|---|---|
| Pick the purpose | Decide whether this FOB supports a push, a route, a mortar/AA position, or a fallback. |
| Check the route | Make sure players and supplies can reach it without crossing the most obvious enemy angle. |
| Place the core | Keep the FOB itself protected before spending supplies on outer walls. |
| Add only useful cover | Build walls and entrances that slow entry and protect defenders, not a huge empty shell. |
| Feed the base | Match building, ammo, fuel, and mechanical supplies to the job the FOB is doing. |
| Review after the fight moves | A good FOB for the last Control Zone may become wasted supply after the front changes. |
Sources
- Steam, BULKHEAD, and Team17 pages for the confirmed WARDOGS premise: Control Zone warfare, teamplay rewards, vehicles, construction, destruction, and forward operating bases.
- StratzFPS FOB and supply guide.
- Riotmaker650 base-building deep dive.
- DemoMan0351 Building 101.
- WARDOGS Quickstart Guide.
- 7 Things You NEED TO Know Before Playing WARDOGS.