Quick answer
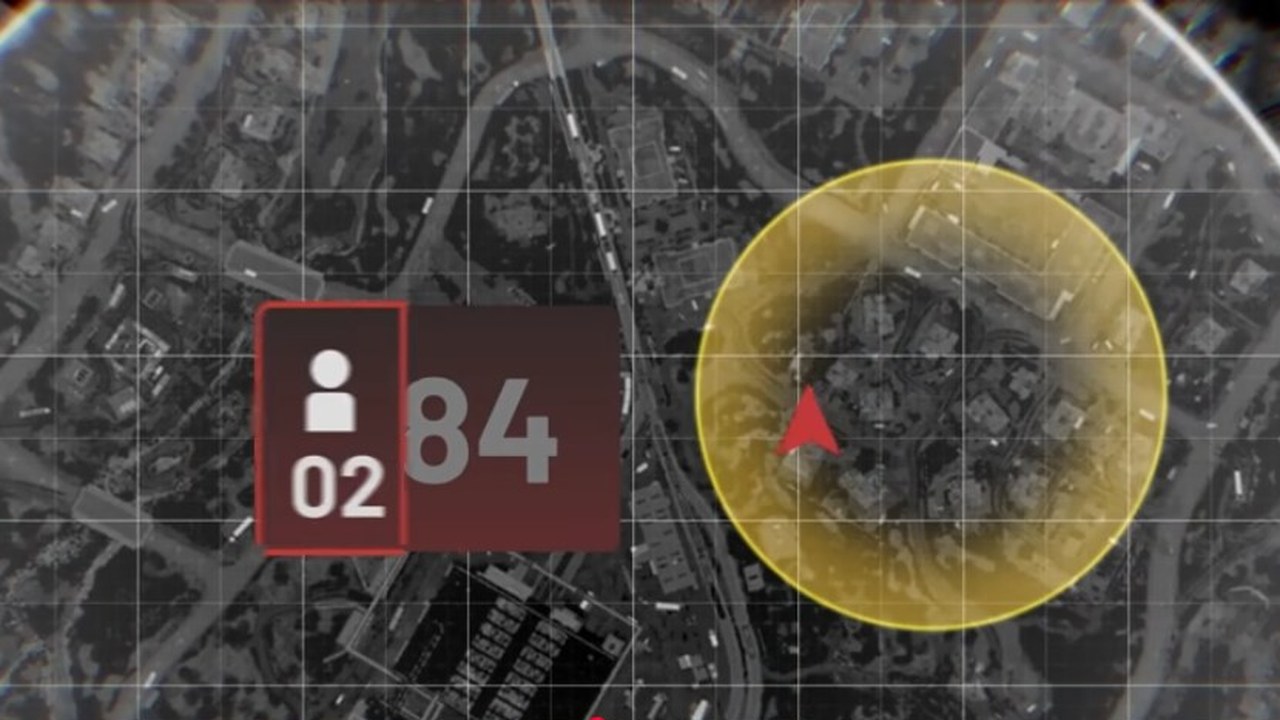
Closed Beta guides describe towers as controllable objective positions, not places to wait for passive capture. A player uses the terminal inside a tower to secure it and reveal one digit of a shared code. Entering the completed code at a tower pulls the Hot Zone toward that position for a limited window.
The broad tower-and-code loop was shown in multiple beta guides. Tower count, input cooldowns, code reset rules, and exact Hot Zone timing should be checked again in the current build.
What should you do at a tower?
| Step | Player action | Why it matters |
|---|---|---|
| 1. Reach the tower | Clear the approach and check for defenders before climbing. | A tower is exposed and often attracts snipers, builders, and counterattacks. |
| 2. Find the terminal | Beta guides place the capture console on an upper interior floor. | Standing near the tower is not the same as using its objective interaction. |
| 3. Complete the interaction | Hold the required control until the tower changes state and shows a digit. | The digit contributes to the code used to move the Hot Zone. |
| 4. Share the digit | Put the tower position and digit in team chat or a short callout. | One squad rarely controls every tower by itself. |
| 5. Choose the destination | Decide which controlled tower is easiest to reinforce and defend. | Moving the Hot Zone is useful only when the faction can hold the new fight. |
| 6. Enter the code | Use the selected tower terminal once the team has the full sequence. | The successful entry pulls the high-value area toward that tower in the beta loop. |
Why does moving the Hot Zone matter?
Players inside the Hot Zone carry extra objective weight and can earn more cash. Pulling it toward a defended tower can shorten reinforcement routes, place the multiplier near a FOB, and force the other two factions to attack prepared ground.
That advantage creates a second problem: the tower becomes predictable. Expect pressure from both enemy factions, and avoid putting every defender inside the structure where one breach can collapse the position.
When should you attack, defend, or leave?
| Situation | Better decision |
|---|---|
| Your faction still needs digits | Capture or raid another tower instead of stacking one position. |
| The full code is known | Fortify the destination, prepare revives and supplies, then enter it. |
| The Hot Zone has moved elsewhere | Rotate unless the tower still protects a spawn, FOB, or reinforcement route. |
| Too many teammates are camping the tower | Put more bodies into the live scoring area or protect the route between both objectives. |
| The enemy has built around a tower | Treat the FOB, spawn support, entrances, and terminal room as one connected objective. |
What can change between builds?
August 2026 beta guides and community discussion described the loop above. Official game pages describe Control Zone warfare and the Hot Zone at a high level, while detailed tower count, console location, brute-force input behavior, cooldowns, and reset timing remain build-specific.
Use the current match interface as the final authority if it differs from the beta sequence.
Related questions
| Question | Page |
|---|---|
| How does the match score work? | Control Zone scoring |
| When is the Hot Zone worth entering? | Hot Zone risk and reward |
| How should a team defend a forward position? | FOB guide |
| What should a beginner do first? | First match guide |
Sources
- WARDOGS on Steam for the official Control Zone and 100-player match framing.
- WARDOGS - Everything You Need to Know Before Playing for the August 2026 beta tower, digit, terminal, and Hot Zone sequence.
- The tutorial really needs to be massively expanded for the player onboarding problem and tower confusion.