Quick answer
The best early WARDOGS advice is to play one useful job per life: protect your cash, move with the active objective, and choose support work when it keeps more teammates alive than another risky fight.
Exact rewards and balance may change during Early Access.
First habits to build
| Habit | Practical move |
|---|---|
| Buy for one job | Bring the kit that solves your next life, not the most expensive kit you can afford. |
| Enter fights with a route out | Cash matters more when deaths affect the next life. |
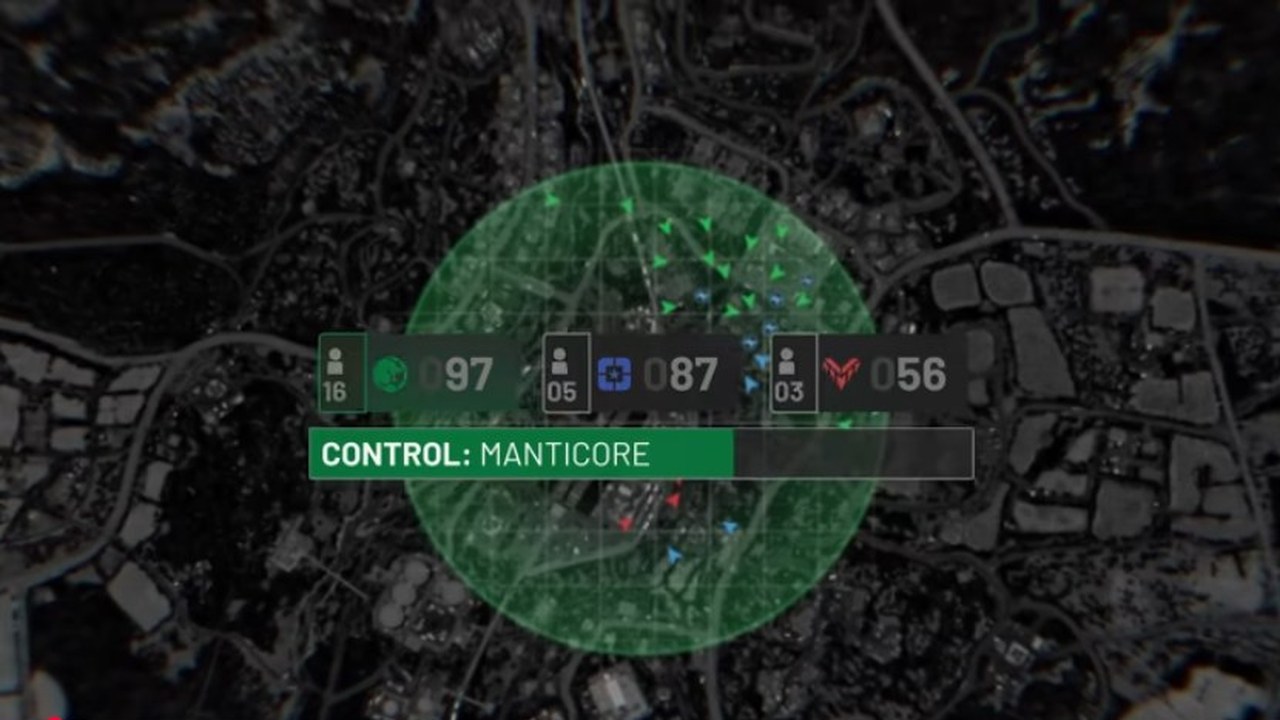
| Move with the Control Zone | A good position becomes wasted time when the active fight shifts. |
| Stay close enough to trade | Isolated players lose revives, information, and transport options. |
| Use support work early | Revives, supplies, transport, and repairs can create value while you learn gunfights. |
| Review each death | Ask whether the problem was spending, timing, position, route, or role choice. |
Controls and UI tips
Small interface habits save a lot of time once the match gets chaotic.
| Tip | Use it when |
|---|---|
| Join or create team chat after spawning | You need squad-level coordination without relying only on proximity voice. |
| Use the re-buy button for a working kit | Your last loadout did its job and you want to get back quickly. |
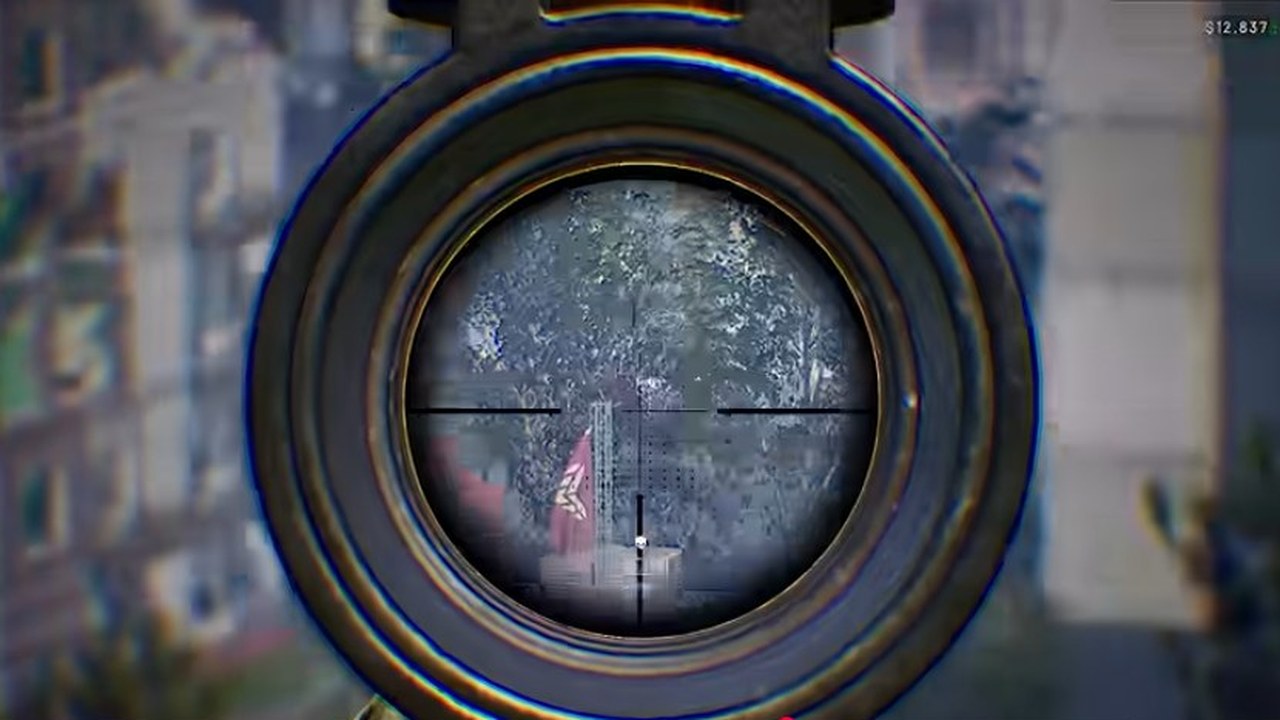
| Set weapon zeroing for long shots | You are using a weapon that supports distance adjustment. |
| Mark a drop-off point before landing | You are riding with a pilot and want a clear landing request near the fight. |
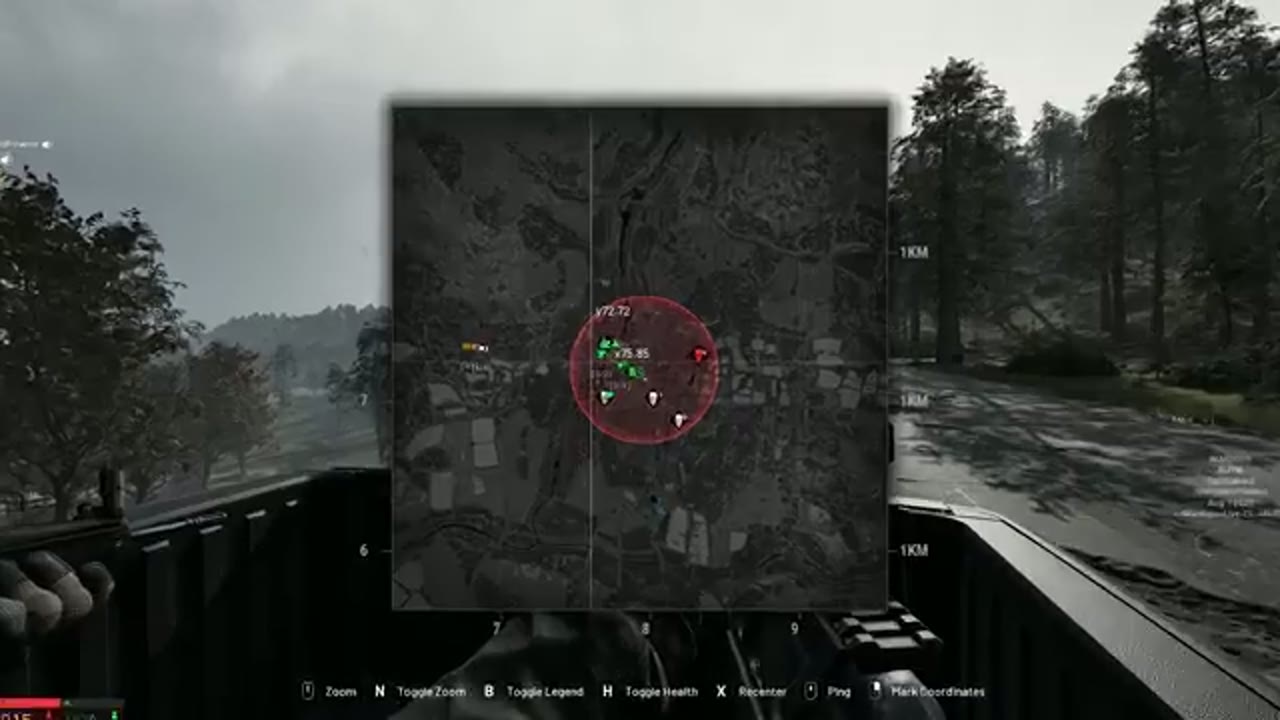
| Check the map before leaving base | You need to decide between waiting for air transport, taking a ground route, or buying your own vehicle. |
Cash tips
Cash is a pressure system, so the best tip is simple: make every purchase explain itself.
| Situation | Better decision |
|---|---|
| You are learning the map | Use a cheap, flexible infantry kit. |
| You keep dying before reaching the fight | Spend less and change your route before upgrading gear. |
| Your squad lacks revives or supplies | Take a support job instead of buying another damage-focused kit. |
| You want a vehicle | Buy it only when it solves movement, armor pressure, supply, or objective timing. |
| You just earned a cash buffer | Keep part of it banked so the next bad fight does not reset your options. |
Money and XP tips
The fastest learning loop is to earn while doing useful work. You do not need to top-frag to build value.
| Action | Why it helps |
|---|---|
| Carry quick revive or medical support when available | Faster recoveries keep teammates in the fight and can pay back through support value. |
| Use bandages and healing on teammates | Buddy support is often more valuable than hiding alone to reset. |
| Spot enemies, vehicles, and bases | Marking gives teammates information and can turn a hidden target into team income. |
| Repair vehicles you are using | A cheap repair habit can save a much larger vehicle investment. |
| Deliver supplies to FOBs | Logistics keeps buildings, repairs, ammo, and vehicle support alive. |
| Tip useful pilots or support players | It rewards the behavior that gets the whole team back into the fight. |
Objective tips
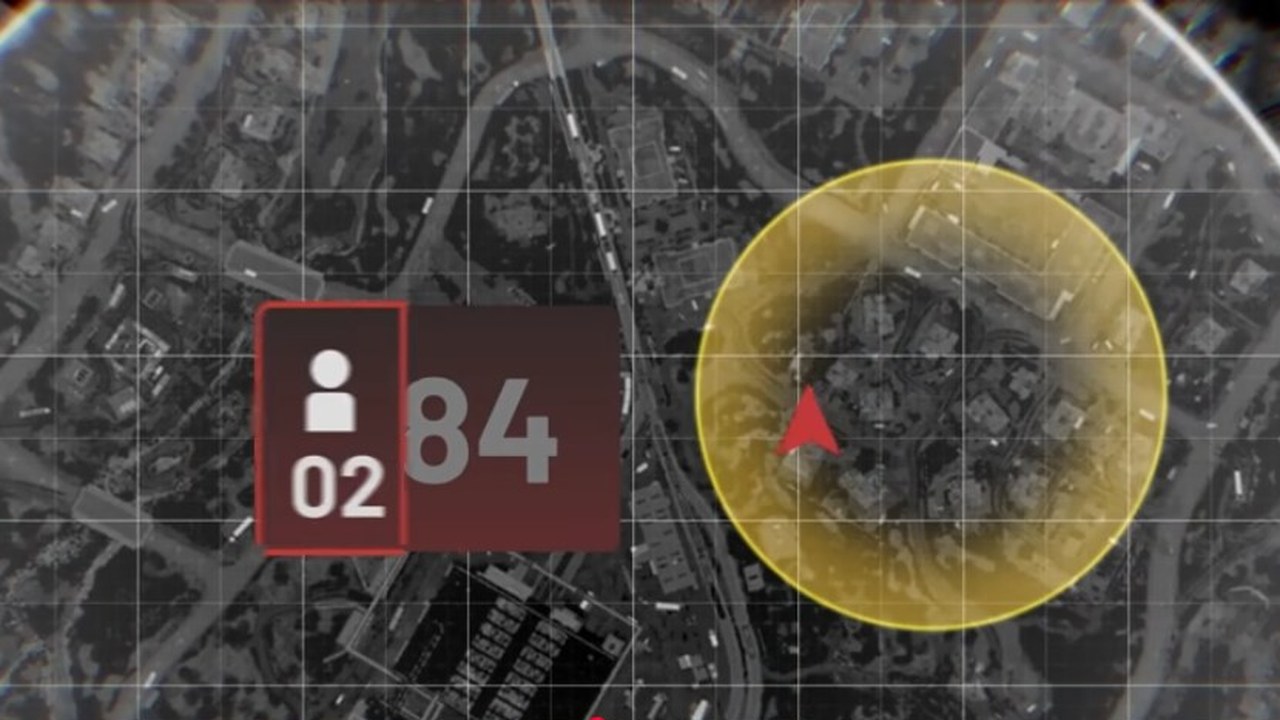
WARDOGS rewards presence around the real fight. Chasing distant kills can feel productive while the match is being decided somewhere else.
- Check where the current Control Zone pressure is going.
- Move before the zone becomes obvious to everyone.
- Arrive with teammates, not alone and late.
- Use buildings, walls, terrain, and vehicles to shorten exposed crossings.
- Leave a bad angle before it becomes a repeated death route.
FOB and support tips
A useful FOB should make the next team action easier. A large base that nobody can supply or defend becomes a resource sink.
| FOB question | Good answer |
|---|---|
| Why build here? | It shortens a push, protects a route, or supports a defensive line. |
| Can supplies reach it? | The route is clear enough for players or vehicles to keep it useful. |
| Is the core protected? | The important part is covered before extra walls are added. |
| Does it match the fight? | The base supports the current objective, not only the last one. |
| Can the team leave? | A trapped FOB can turn into repeated cash loss. |
FOB and Hot Zone tricks
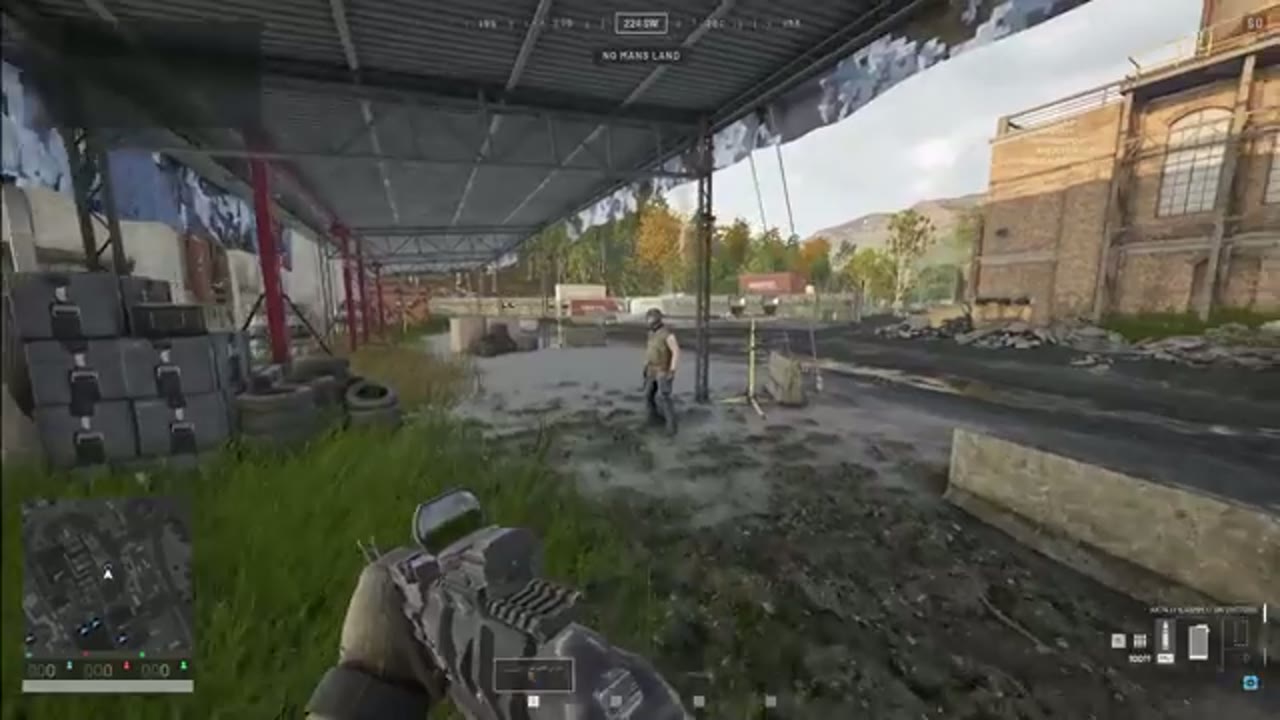
FOBs, towers, spawn vehicles, and Hot Zone movement connect more than they first appear to.
| Mechanic | Practical tip |
|---|---|
| Spawn vehicle | Protect it and repair damaged parts; it is separate from the FOB and has a long reuse rhythm. |
| Tower code | Captured towers can reveal code digits, so share useful digits with the team. |
| Hot Zone pull | A tower code or FOB drill can turn a defended setup into the next major fight. |
| FOB drill | Build and fuel it only when the team can defend the setup long enough for it to matter. |
| FOB attack | Enemy FOBs, emplacements, and supply positions are real targets, not background scenery. |
Vehicle tips
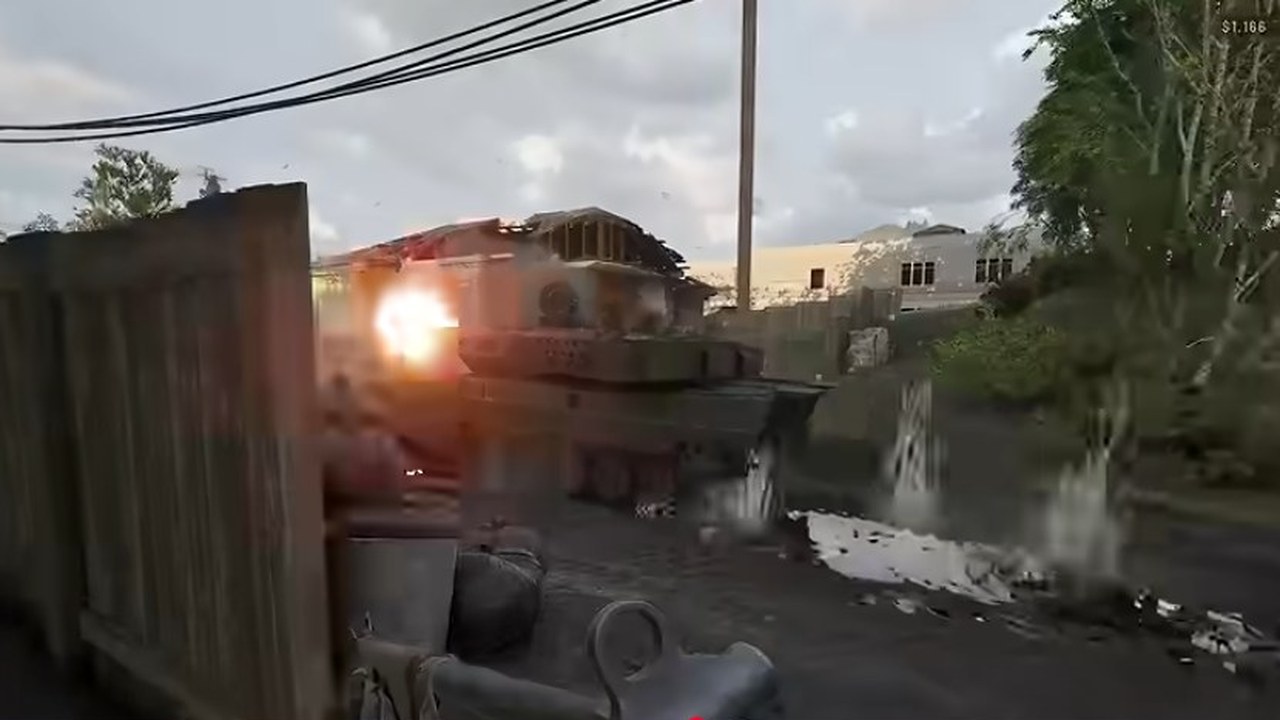
Vehicles are strongest when they move the team, break a problem, or keep pressure alive. Treat them as team tools first.
| Vehicle choice | Use it for |
|---|---|
| Transport | Getting players to the next fight before the walk wastes the match. |
| Logistics vehicle | Moving supplies to a FOB or repair point. |
| Armor | Breaking a defended line or protecting a route. |
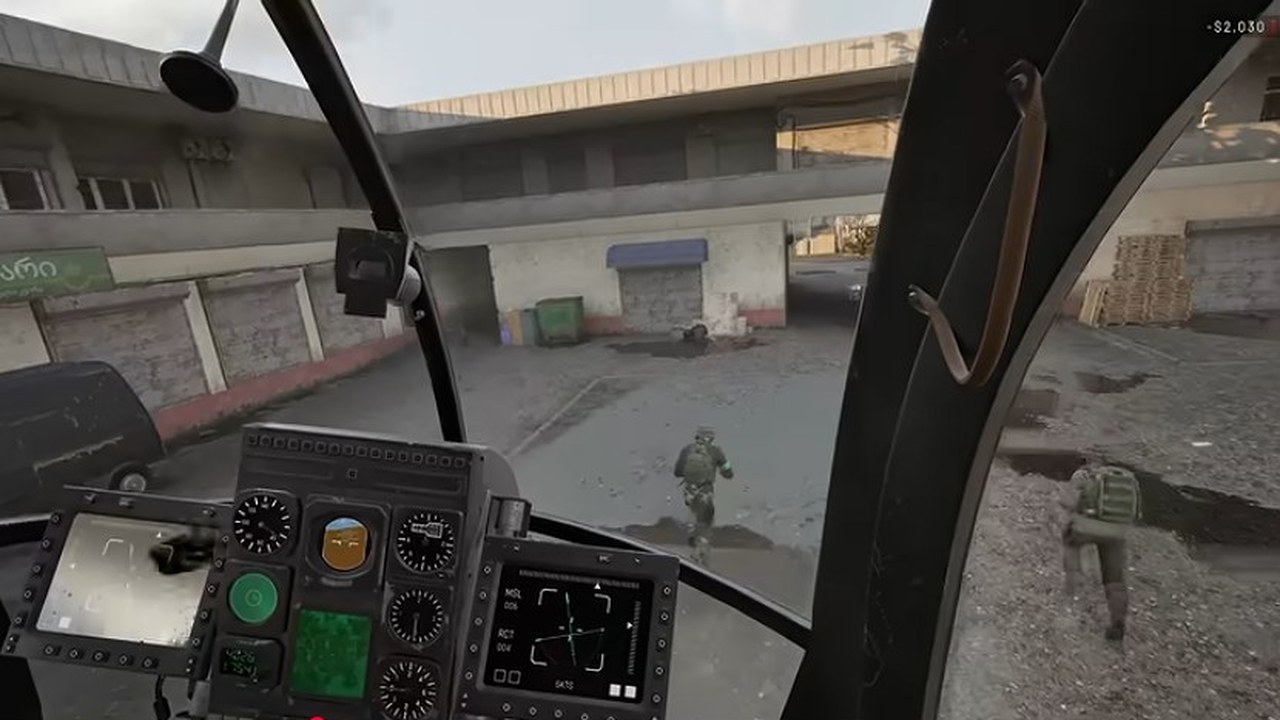
| Helicopter | Fast repositioning, risky inserts, or support around terrain that slows ground movement. |
Do not buy a vehicle just because it is available. Ask what the squad gains if it survives for two minutes.
Helicopter and vehicle checklist
| Before leaving base | Check |
|---|---|
| Flying a helicopter | Practice first; a crash can cost teammates time and cash. |
| Riding in a helicopter | Consider a parachute when the route is risky or anti-air is active. |
| Taking an armed vehicle | Buy the ammo or supplies it actually needs before leaving base. |
| Transporting players | Wait long enough to fill useful seats, then move decisively. |
| Driving logistics | Load supplies at base and unload them where the FOB can use them. |
| Operating near armor | Bring a repair tool when the vehicle is supposed to survive multiple fights. |
Role tips
Pick a role track that matches the job you are actually doing. Assault, Medic, Recon, Support, Driver, and Pilot all train different habits, so spreading every life across random jobs slows learning.
| If you want to learn... | Start with... |
|---|---|
| Objective fighting | Assault with a reliable rifle and simple utility. |
| Team recovery | Medic habits: spacing, revives, and staying alive after contact. |
| Map control | Recon positions that give information without abandoning the objective. |
| Team pressure | Support, supplies, repairs, and building help. |
| Movement value | Driver routes that reduce wasted travel time. |
| Air movement | Pilot practice only when you understand landing zones and risk. |
Solo player note
Solo play can work, but it is more punishing because you lose revives, callouts, and coordinated transport. Choose cheaper, flexible roles until you know where you can make money safely.
Good solo choices are jobs that still help nearby teammates: revive when possible, bring useful utility, follow the objective flow, and save squad-dependent gear for coordinated play.
Mistakes that cost matches
| Mistake | Better habit |
|---|---|
| Buying expensive gear after every death | Lower the kit cost until you understand why you died. |
| Running from spawn alone | Wait for transport or move with a group. |
| Fighting far from the active zone | Rotate earlier and contest the next useful position. |
| Treating support as optional | Revives, repairs, and supplies decide long fights. |
| Building without logistics | Place only what can be supplied and defended. |
| Using vehicles as personal trophies | Spend vehicles on objective value. |
| Ignoring weight | Heavy kits can slow movement, so carry what the job needs. |
| Forgetting ammo or batteries | Weapons, tools, and support gear only matter if they are ready when the fight starts. |
Early Access tip
Keep every rule flexible. Prices, rewards, vehicle pressure, weapon balance, FOB strength, and progression details can move during Early Access, so the best habit is to learn the decision behind each tip rather than memorize one fixed meta.
Related guides
Sources
- WARDOGS on Steam for official teamplay, Cash, vehicles, logistics, support, and Early Access framing.
- WARDOGS Quickstart Guide for beta-observed first-match actions.